Hair Dye Guide: 3 Pro Tips for Perfect Home Coloring
"Stop guessing with hair dye boxes; learn the scientific method to match your skin undertone and hair porosity for a salon-quality result at home."
Choosing the right hair color at home is often a gamble between a vibrant new look and a muddy, patchy disaster. By understanding the relationship between your skin's undertones and your hair's natural pigment, you can select shades that look intentional rather than accidental.
Key Takeaways * Identify your skin's undertone (Warm vs. Cool) to prevent "washed out" looks. * Assess hair porosity and base level to predict how much pigment the hair will absorb. * Use the "Color Wheel" principle to neutralize unwanted brassiness or redness.
* Match dye intensity to your current hair health to prevent breakage.

How do I diagnose my skin undertone for the perfect match?
I stood in front of my bathroom mirror at 7:00 AM on a Tuesday in 2025, holding a piece of bright white printer paper against my jawline. The fluorescent light hummed, but the paper revealed the truth: my skin looked distinctly yellowish against the stark white.
This simple check told me I was warm-toned, a fact that would dictate whether I chose an ash blonde or a golden copper.
The goal is to find the balance between your complexion and your hair. If you choose a shade that clashes with your undertone, your skin can look sallow, gray, or unnaturally red.
The Vein Test is the quickest way to start. Look at the veins on your wrist under natural sunlight. If they appear blue or purple, you likely have cool undertones. If they look green, you have warm undertones. If you can't quite tell, or they seem to be a mix of both, you are likely neutral.
The Jewelry Test provides further clarity. Hold a piece of gold jewelry against your skin, then switch to silver. Gold typically complements warm tones, while silver looks best against cool tones. If both look equally flattering, you possess the versatility of neutral skin.
When mapping colors to your face, follow these rules: * Cool Skin: Aim for shades with blue, violet, or ash bases. * Warm Skin: Look for golden, copper, honey, or caramel shades. * Neutral Skin: Most colors work, but muted, balanced tones prevent the hair from looking "artificial."
The Paper Test is the final verification. Hold a sheet of pure white paper next to your face in natural light. This provides a baseline to see if your skin leans pink/blue (cool) or yellow/gold (warm) without the distraction of colorful clothing.
Once you know your skin tone, you must look at the canvas itself.
How does my current hair base level affect the final result?
I sat in my kitchen chair on a rainy afternoon in 2025, staring at a box of "Medium Ash Blonde" and my own dark brunette hair. I realized that the "Level 7" on the box would never look the same on my hair as it would on the model's.
This realization is the difference between a successful DIY and a hair coloring catastrophe.
In the professional world, hair color is measured on a 1–10 scale. Level 1 is the darkest black, and Level 10 is the lightest blonde. Understanding where you currently sit on this scale is vital for predicting the final outcome.
The Pigment Rule dictates that darker hair requires a higher volume developer to "lift" the natural pigment, while lighter hair absorbs new pigment much faster. If you apply a dark dye to very light hair, it may turn much darker than intended.
Conversely, applying a light dye to dark hair without enough lift will result in almost no visible change.
The "Warmth" Factor is the biggest hurdle for home dyers. As you lift hair color (lighten it), the underlying pigments—red, orange, and yellow—become visible. This is why dark hair often turns orange during the bleaching or lifting process.
This is the "underlying pigment" that must be accounted for.
Calculating the Gap is the mathematical way to plan. Subtract your current hair level from your target level. If you are a Level 3 and want to be a Level 7, you have a 4-level gap.
This tells you that you need a "Lift and Deposit" strategy, likely requiring a higher developer volume or a two-step process.
Knowing your level is important, but the physical state of your hair determines if the color will even stay.
How can I prevent "muddy" or "patchy" colors based on hair texture?
I ran my fingers through my hair after a shower in late 2025, feeling the different textures between my roots and my ends. The ends felt much rougher and more porous, absorbing the water instantly. This told me that if I applied dye now, the ends would turn much darker than the rest of my hair.
The Porosity Check is essential. A common way to check is the Float Test: place a strand of clean hair in a glass of water. If the hair sinks quickly, it has high porosity. If it floats, it has low porosity.
High porosity hair has an open, damaged cuticle. This hair absorbs color very quickly, but it also loses it just as fast. This can lead to colors looking "muddy" or overly saturated in certain spots.
To manage this, use pre-color treatments or protein-based conditioners to fill the gaps in the hair shaft before dyeing.
Low porosity hair has a tightly closed cuticle. This hair resists absorbing color, which can lead to patchy, uneven results. To ensure the dye penetrates, try applying color after using a bit of warmth or steam to gently open the hair cuticle.
Texture consistency also matters. Coarse, thick hair requires more product and often longer processing times than fine, thin hair. If you have thick hair, you may need to double the amount of dye you think you'll need to ensure even saturation.
With the science of your hair understood, you can move to the actual application.
What is the step-by-step guide to a foolproof home coloring process?
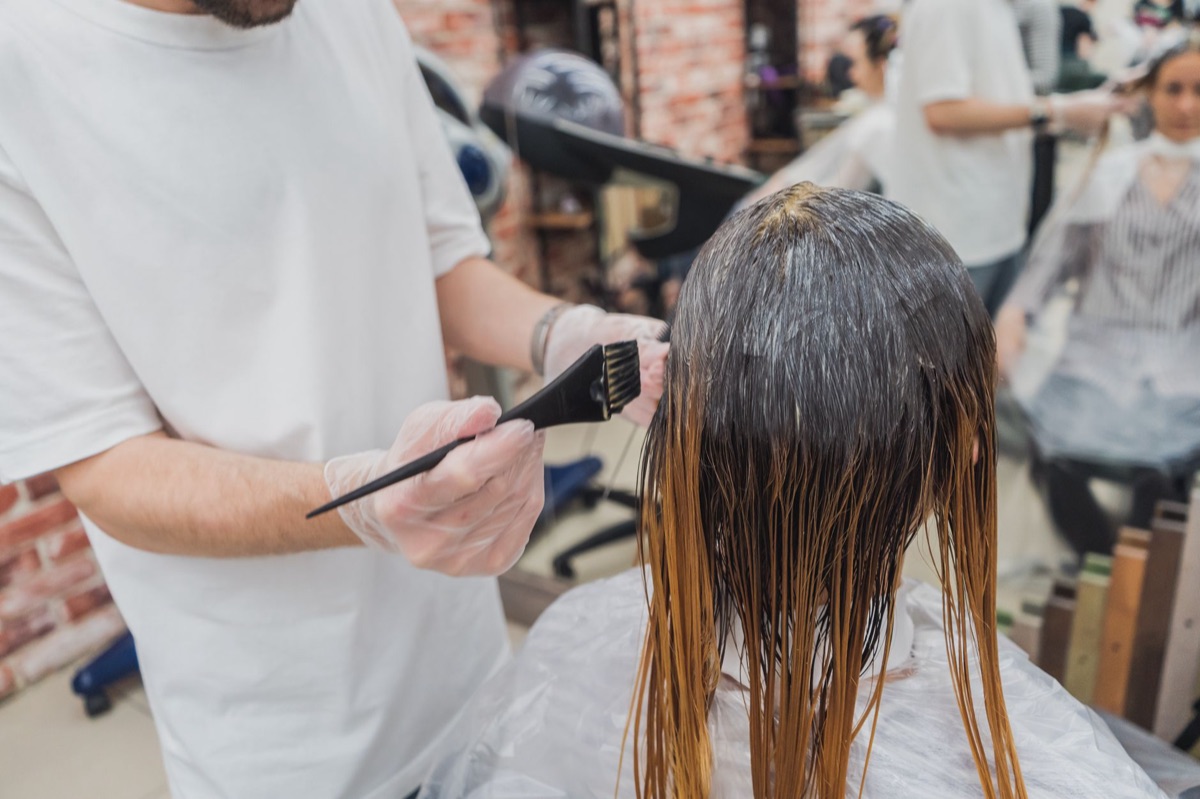
I laid out my supplies on the bathroom counter: the dye, the developer, a timer, and four plastic clips. I organized them meticulously, knowing that a messy workspace leads to a messy hair color.
Follow these steps to ensure a professional-grade result:
- The Patch Test: This is mandatory. Apply a small amount of dye to a patch of skin behind your ear or in your inner elbow. Wait 48 hours to ensure you don't have an allergic reaction.
- Sectioning: Divide your hair into four quadrants—two in the front and two in the back. This ensures you don't miss any spots.
- Application Order: This is the "Resistant vs. Porous" rule. Apply dye to the "resistant" areas first—usually the mid-lengths and ends if they are old color, or the roots if they are new growth. If you have gray hair, focus heavily on the roots.
- Timing: Never "eye-ball" the time. Use a digital timer. Over-processing can lead to chemical burns or hair breakage.
- The Rinse: When the timer goes off, rinse with cool water. This helps seal the hair cuticle. Follow up with a pH-balanced, color-safe shampoo to lock in the pigment.
Even with a perfect plan, mistakes can happen.
What are the most common mistakes and how do I fix them?
I looked at my reflection after my first attempt at home coloring in early 2025. The color was much darker than the box promised, and my roots looked bright orange. I realized I had ignored the fundamental rules of level and pigment.
The first common mistake is choosing a shade that is too light. A "Level 7" dye box is designed for people with much lighter hair than the average person. If you apply it to dark hair, the pigment might show, but the "lift" won't happen, leaving you with a muddy result.
The second mistake is ignoring the "Underlying Pigment." If your hair turns orange after coloring, you need to use blue-based toners. If it turns yellow, use purple-based toners. This is the "Color Wheel" principle in action.
The third mistake is over-processing. This happens when people try to "fix" a dark color by applying more high-volume developer. This can lead to severe hair damage and breakage.
If you end up with a color that is too warm or too bright, use an "Emergency Fix." Color-depositing conditioners (available in shades like ash or blue) can help tone down the hair without the damage of permanent dye.
| Feature | High Porosity Hair | Low Porosity Hair | |
|---|---|---|---|
| Cuticle State | Open / Damaged | Closed / Tight | |
| Color Absorption | Very Fast (can be too dark) | Slow / Resistant | |
| Primary Risk | Color fades quickly | Patchy, uneven color | |
| s | Best Approach | Use protein/filling treatments | Use warmth/steam to open cuticle |
#

Comments 0